How To Iron On A Badge
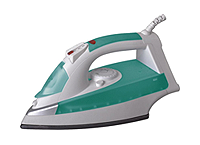
Switch on your iron and set it to its maximum temperature. Do not use the steam setting. While it is warming up, lightly dampen the area on the garment where you wish to attach the badge. Place the badge on the garment with the emroidery facing upwards. Cover the badge with the handkerchief or thin cloth. Now take the hot iron and press down firmly on the badge for 1 minute. Turn the garment over and press down for a further minute.
Now turn the garment inside out, and repeat process pressing firmly with the iron over the badge. When done, check that the badge has bonded to the garment properly. Allow the garment to cool. It will take 24 hours for the badge to completely adhere so customers are encouraged to leave the garment aside for this period.
After the badge has adhered the garment can be washed according to the manufacturers instructions.
Note: Iron On emblems are not suitable for wool mix garments such as jumpers or cardigans.
How To Stitch On A Badge
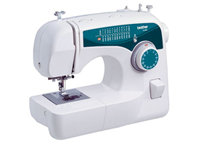
If the garment is a knitted item, it is necessary to sew the badge on. Place the badge on the garment with the emroidery facing upwards. If using a sewing machine, place the garment and badge onto the machine and begin stitching approximately 3mm from the edge of the badge. Be careful to ensure the stitch will attach the badge to the front of the garment only. Follow the shape of the badge by rotating the garment and badge carefully as you stitch.
The badge can also be hand stitched using a needle and thread if you do not have a sewing machine available.
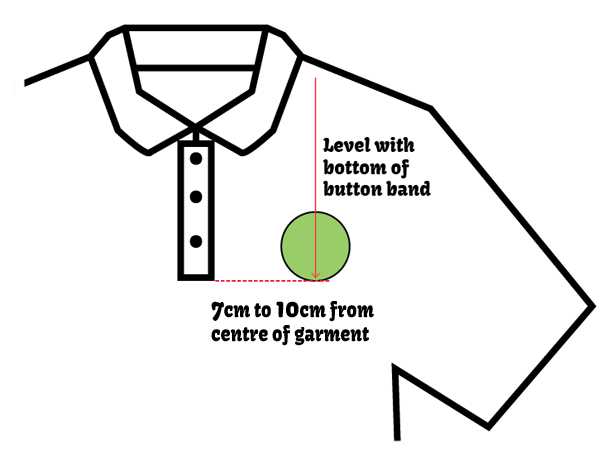
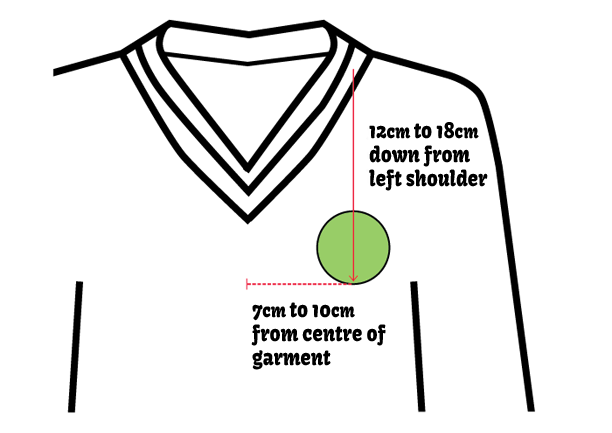
Positioning The Badge
The bottom of the badge should be positioned 7cm - 10cm from the centre of the garment, in line with the bottom of the button band as shown below.